Customers who bought this product also commonly purchased the following combination of items.
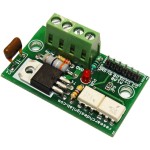
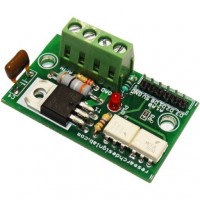
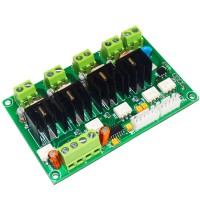
- This Item: Serial 3 Channel AC 230V SSR and Dimmer
-
Digital Dimmer Module
-
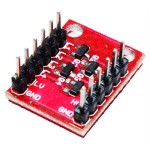
Bi-Directional Logic Level Converter
-
USB Cable A to B
-
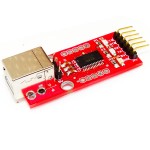
FT232 BreakOut Board
-
-
-
-
-
Out of stock
Questions:
-
0voteA:
You can connect six units of the Serial 3 Channel Dimmer to Raspberry Pi by
interfacing 8 Channel Multiplexer (74HC4051) with Raspberry Pi. Please click below given
link for the details of the same.
https://www.thingbits.net/products/sparkfun-multiplexer-breakout-8-channel-
74hc4051?gclid=EAIaIQobChMIm-
bmir2O2QIV3bbACh21MQ_rEAYYASABEgINm_D_BwEPosted by on Wednesday, 11 December 2019
-
0voteA:Yes, you can do dimming over wifi through 3 channel dimmer.You have to connect TX--RX and RX---TX pin of wifi module to 3 channel dimmer.Posted by on Thursday, 30 November 2017
-
0voteA:
Dear Sir/Madam,
Greetings From RDL!!!
Kindly click below link for connection deatils and for command list.
https://researchdesignlab.com/serial-3-channel-ac-230v-ssr-and-dimmer.html
Posted by on Tuesday, 31 October 2017
-
0voteA:
Dear Sir/Madam,
Greetings From RDL!!!
The Serial 3 Channel AC 230V SSR and Dimmer is designed to work with 230V AC 50Hz.
If you want to modify , we an customized it for you according to your requirement
Posted by on Tuesday, 20 June 2017
-
0voteA:
Dear Sir/Madam,
Greetings From RDL!!!
The Serial 3 ChanneL AC 230V SSR and Dimmer cab used in the dimming of the Bulb, Fan or only Triac Dimmable LED's.
Posted by on Tuesday, 13 June 2017
-
0voteA:
Dear Sir/Madam,
Greetings from RDL!!!
Kindly below link for product document, in which Arduino code also given.
https://researchdesignlab.com/serial-3-channel-ac-230v-ssr-and-dimmer.html
Posted by on Monday, 27 March 2017
-
0voteA:
Dear Sir/Madam.
Kindly do not use 3.3V instead of 5V, because module will not work if you use 3.3V.
Posted by on Friday, 20 January 2017
-
0voteA:
Dear Sir/Madam,
The code given in our product page is for PIC16F877A IC not for 12F1840IC. So kindly load the given code into PIC16F877A IC.
Posted by on Saturday, 31 December 2016
-
0voteA:
Dear Sir/Madam,
You have not loaded the Dimmer code to the new 12F1840 IC, so board is not working.
Posted by on Thursday, 22 December 2016
-
0voteA:
Dear Sir/Madam,
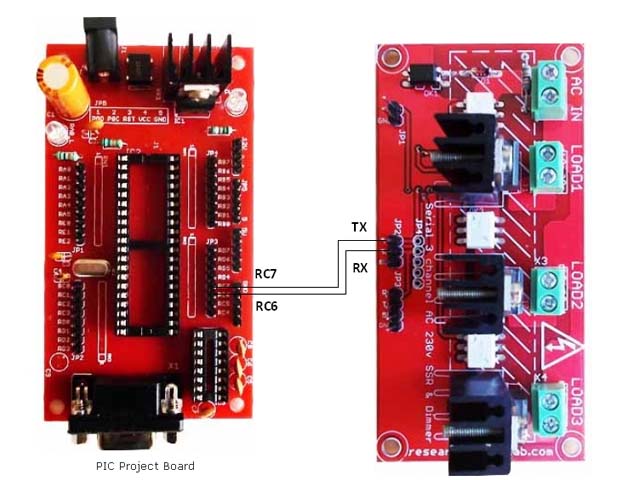
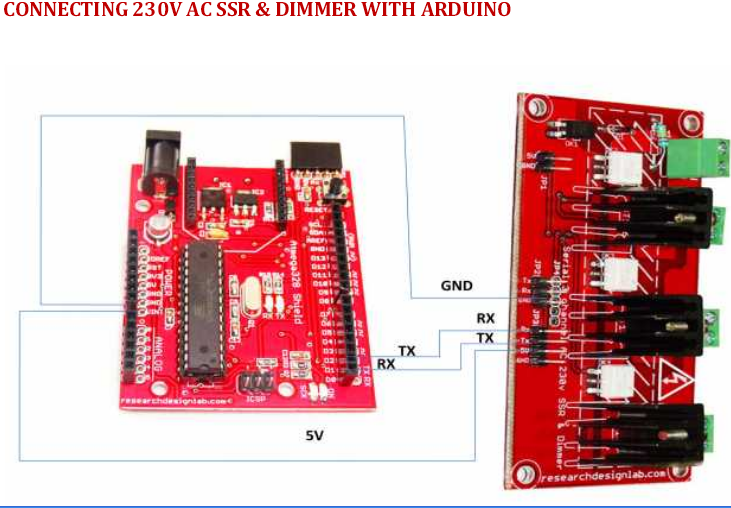
Kindly connect the D0,D1 pin of Arduino UNO to Tx,Rx pin of the Serial 3 Channel Dimmer, then load the code given in below link.Then connect the load and provide the supply.Posted by on Wednesday, 21 December 2016
-
0voteA:
Dear Sir,
You will connect Tx/Rx pin of the serial 3 channel SSR dimmer to Tx/Rx pin of the Raspberry Pi for interfacing purpose.
You can not use 12V DC instead of 230V AC.
Posted by on Monday, 26 September 2016 -
0voteA:
Dear Sir,
You will connect Tx/Rx pin of the serial 3 channel SSR dimmer to Tx/Rx pin of the Raspberry Pi for interfacing purpose.
You can not use 12V DC instead of 230V AC.
Posted by on Monday, 26 September 2016
-
0voteA:
Dear Sir,
You will connect Tx/Rx pin of the serial 3 channel SSR dimmer to Tx/Rx pin of the Raspberry Pi for interfacing purpose.
You can not use 12V DC instead of 230V AC.
Posted by on Monday, 26 September 2016
-
0voteA:
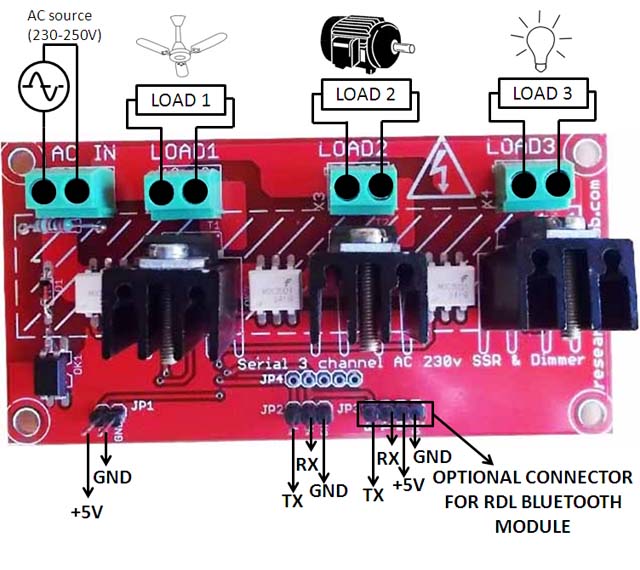
Kindly Refer the below image
 Posted by on Friday, 9 October 2015


